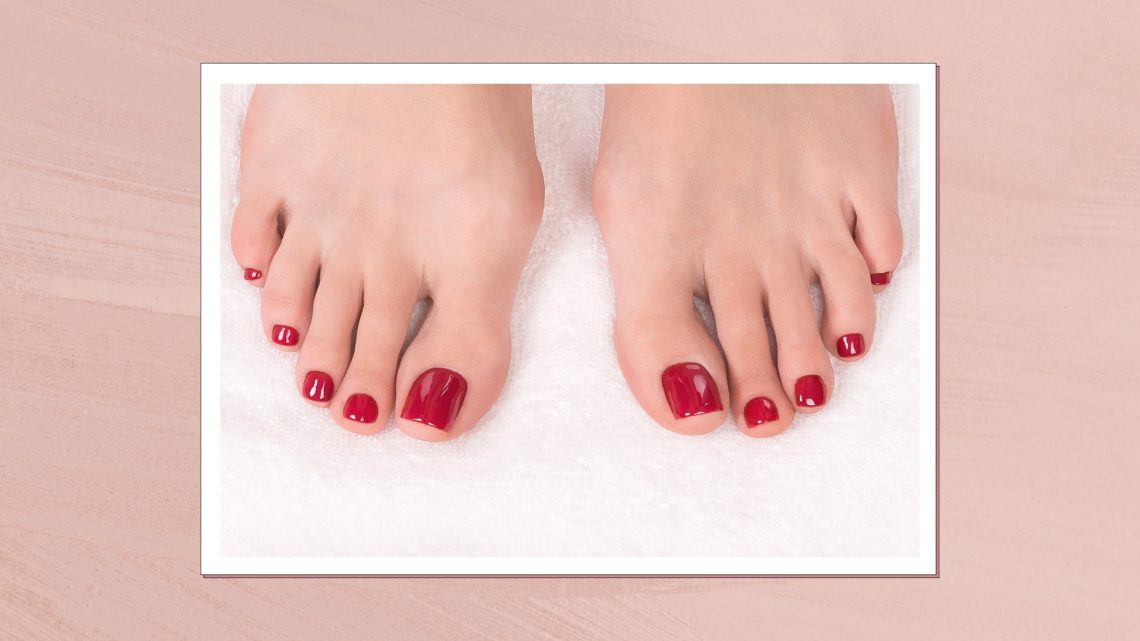
A beautiful pedicure is the ultimate foot accessory, a secret pop of color and confidence. But traditional nail polish on toes often leads to a familiar frustration: just a few weeks in, chips and tip wear appear, marring the perfect finish. Enter semi-permanent nail polish, a game-changing solution not just for fingers, but for feet as well. If you crave flawlessly polished toes that last through multiple beach trips, gym sessions, and daily life, this might be your answer.
Is Semi-Permanent Polish Feasible for Toes?
Absolutely. In fact, semi-permanent polish is arguably even more suitable for toes than for fingernails. Here’s why:
- Slower Growth: Toenails grow at a much slower rate than fingernails. This means the visible “gap” at the cuticle, the tell-tale sign of an aging manicure, takes significantly longer to appear. While a semi-permanent manicure might last 2-3 weeks, a pedicure can easily maintain its fresh look for 4 to 6 weeks, or even longer.
- Less Wear and Tear: Our toes are generally protected in socks and shoes. They aren’t subjected to the constant typing, washing, and scraping that our hands endure. This reduced physical impact means the polish is less likely to chip or peel prematurely.
- Durability: The curing process under a LED or UV lamp creates a hard, resilient finish that is far more resistant to scratches and dings than regular polish.
The primary consideration is the health of your toenails. Just like with your hands, the removal process is crucial. With proper care, semi-permanent polish is a safe and highly effective way to achieve a long-lasting pedicure.
The Application Process: A Step-by-Step Guide
While a salon visit ensures a professional finish, applying semi-permanent polish at home is entirely possible with the right kit (a lamp and the polish). The key is meticulous preparation.
Step 1: Prep is Everything
Start with clean, dry toenails. Gently push back your cuticles and lightly buff the surface of each nail with an electric file. This isn’t about scraping the nail thin; it’s about removing the natural shine to create a slightly rough surface that the polish can grip onto. Wipe each nail thoroughly with an alcohol-soaked pad to remove all dust and oils. Any residue will prevent proper adhesion and lead to early peeling.
Step 2: The Base Layer
Apply a very thin, even layer of the special semi-permanent base coat, making sure to cap the free edge (the very tip) of the nail. This seals the nail and provides a sticky foundation. Cure under the LED/Lamp for the time specified by the brand (usually 30-60 seconds).
Step 3: Color with Care
Now for the color. Apply your first layer of color polish. The golden rule here is thin coats. It’s better to have three whisper-thin layers than one or two thick, gloopy ones. Thick layers won’t cure properly in the center and will peel off quickly. Ensure you cover the nail evenly without flooding the cuticles. Cure this layer. Repeat with a second thin coat of color and cure again. For opaque colors, a third coat might be necessary.
Step 4: The Protective Seal
Finish with a thin layer of the top coat. This is what gives the polish its incredible shine and scratch-resistant quality. Again, cap the free edge of the nail to seal in the color and prevent tip wear.
Step 5: The Final Clean-Up
After the final cure, the surface of your nails might feel a little sticky. This is a normal “inhibition layer.” Take another alcohol pad and gently wipe each toenail. This will remove the sticky residue, revealing a dazzling, high-gloss finish.

Maintaining Your Long-Lasting Pedicure
The great work doesn’t stop after application. A little maintenance will keep your pedicure looking salon-fresh for weeks.
1. Moisturize, But Wisely: Keep your feet and cuticles hydrated with lotion or oil daily. However, avoid getting heavy creams on the nail surface right after application, as they can create a barrier that weakens the bond over time.
2. Protect the Top Coat: The top coat is your best friend. Some brands sell “aftercare” top coats that can be applied once a week (no lamp needed) to refresh the shine and add an extra layer of protection.
3. Wear Proper Footwear: Avoid shoes that are too tight and constantly rub against your toenails, as this friction can cause premature wear on the polish.
4. Don’t Pick!: If you notice a tiny chip, resist the urge to pick or peel the polish. Peeling can take layers of your natural nail with it, causing significant damage. It’s better to live with a small chip until you are ready for a proper removal and reapplication.
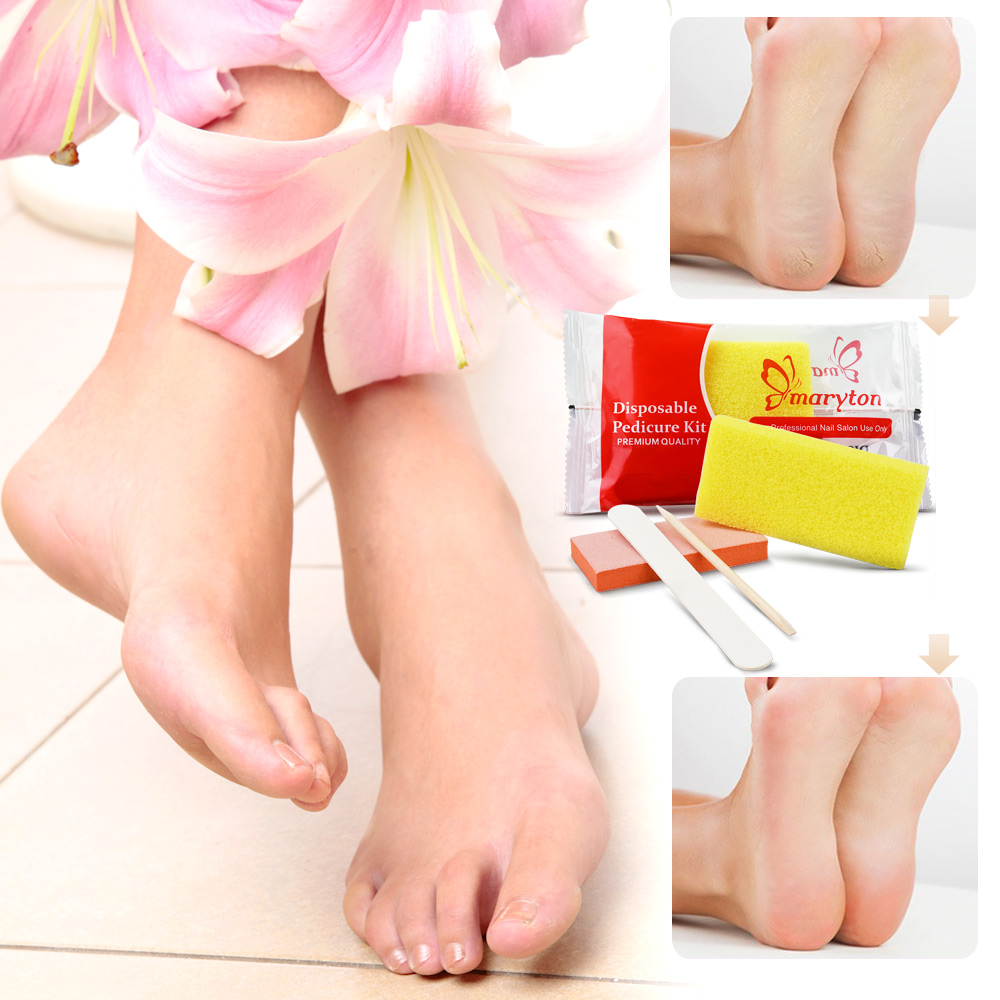
Safe and Sound Removal
When it’s finally time for a change, do not peel the polish off. The correct removal process is non-negotiable for nail health.
File the shiny top coat off gently to break the seal. Soak a cotton ball in pure acetone, place it on the nail, and wrap the toe securely in aluminum foil or use clips designed for this purpose. Wait for 10-15 minutes. The polish should then slide off easily with gentle pressure from an orange stick. If it resists, re-soak; never force it. Follow up with a nourishing cuticle oil to rehydrate the nails and skin.
In conclusion, semi-permanent nail polish is a fantastic, feasible option for anyone who desires a low-maintenance, high-impact pedicure. By following the correct application and maintenance steps, you can enjoy perfectly polished toes for over a month, freeing up your time and elevating your foot-care game to a whole new level of perfection.